For this project, I knew that I wanted to work with fabric. I wanted to work with fabric because I remembered how much fun I had doing the fabric unit this semester, and I loved what I produced. However, in the previous embroidery project, I didn’t push myself to do anything somewhat complicated. Therefore, my main goal of this project was to test myself on how complicated I could get with my stitching. Also, I knew I wanted to take it a step further and not just make a canvas but make a pillow.
I picked out different sized bowls and cups in order to draw circles in the middle of the fabric. These circles would be my guidelines for my stitches. I thought it was going to look really cool with a bunch of different stitches in circles inside of circles. Below are pictures of the different sized bowls I used to trace my circles. 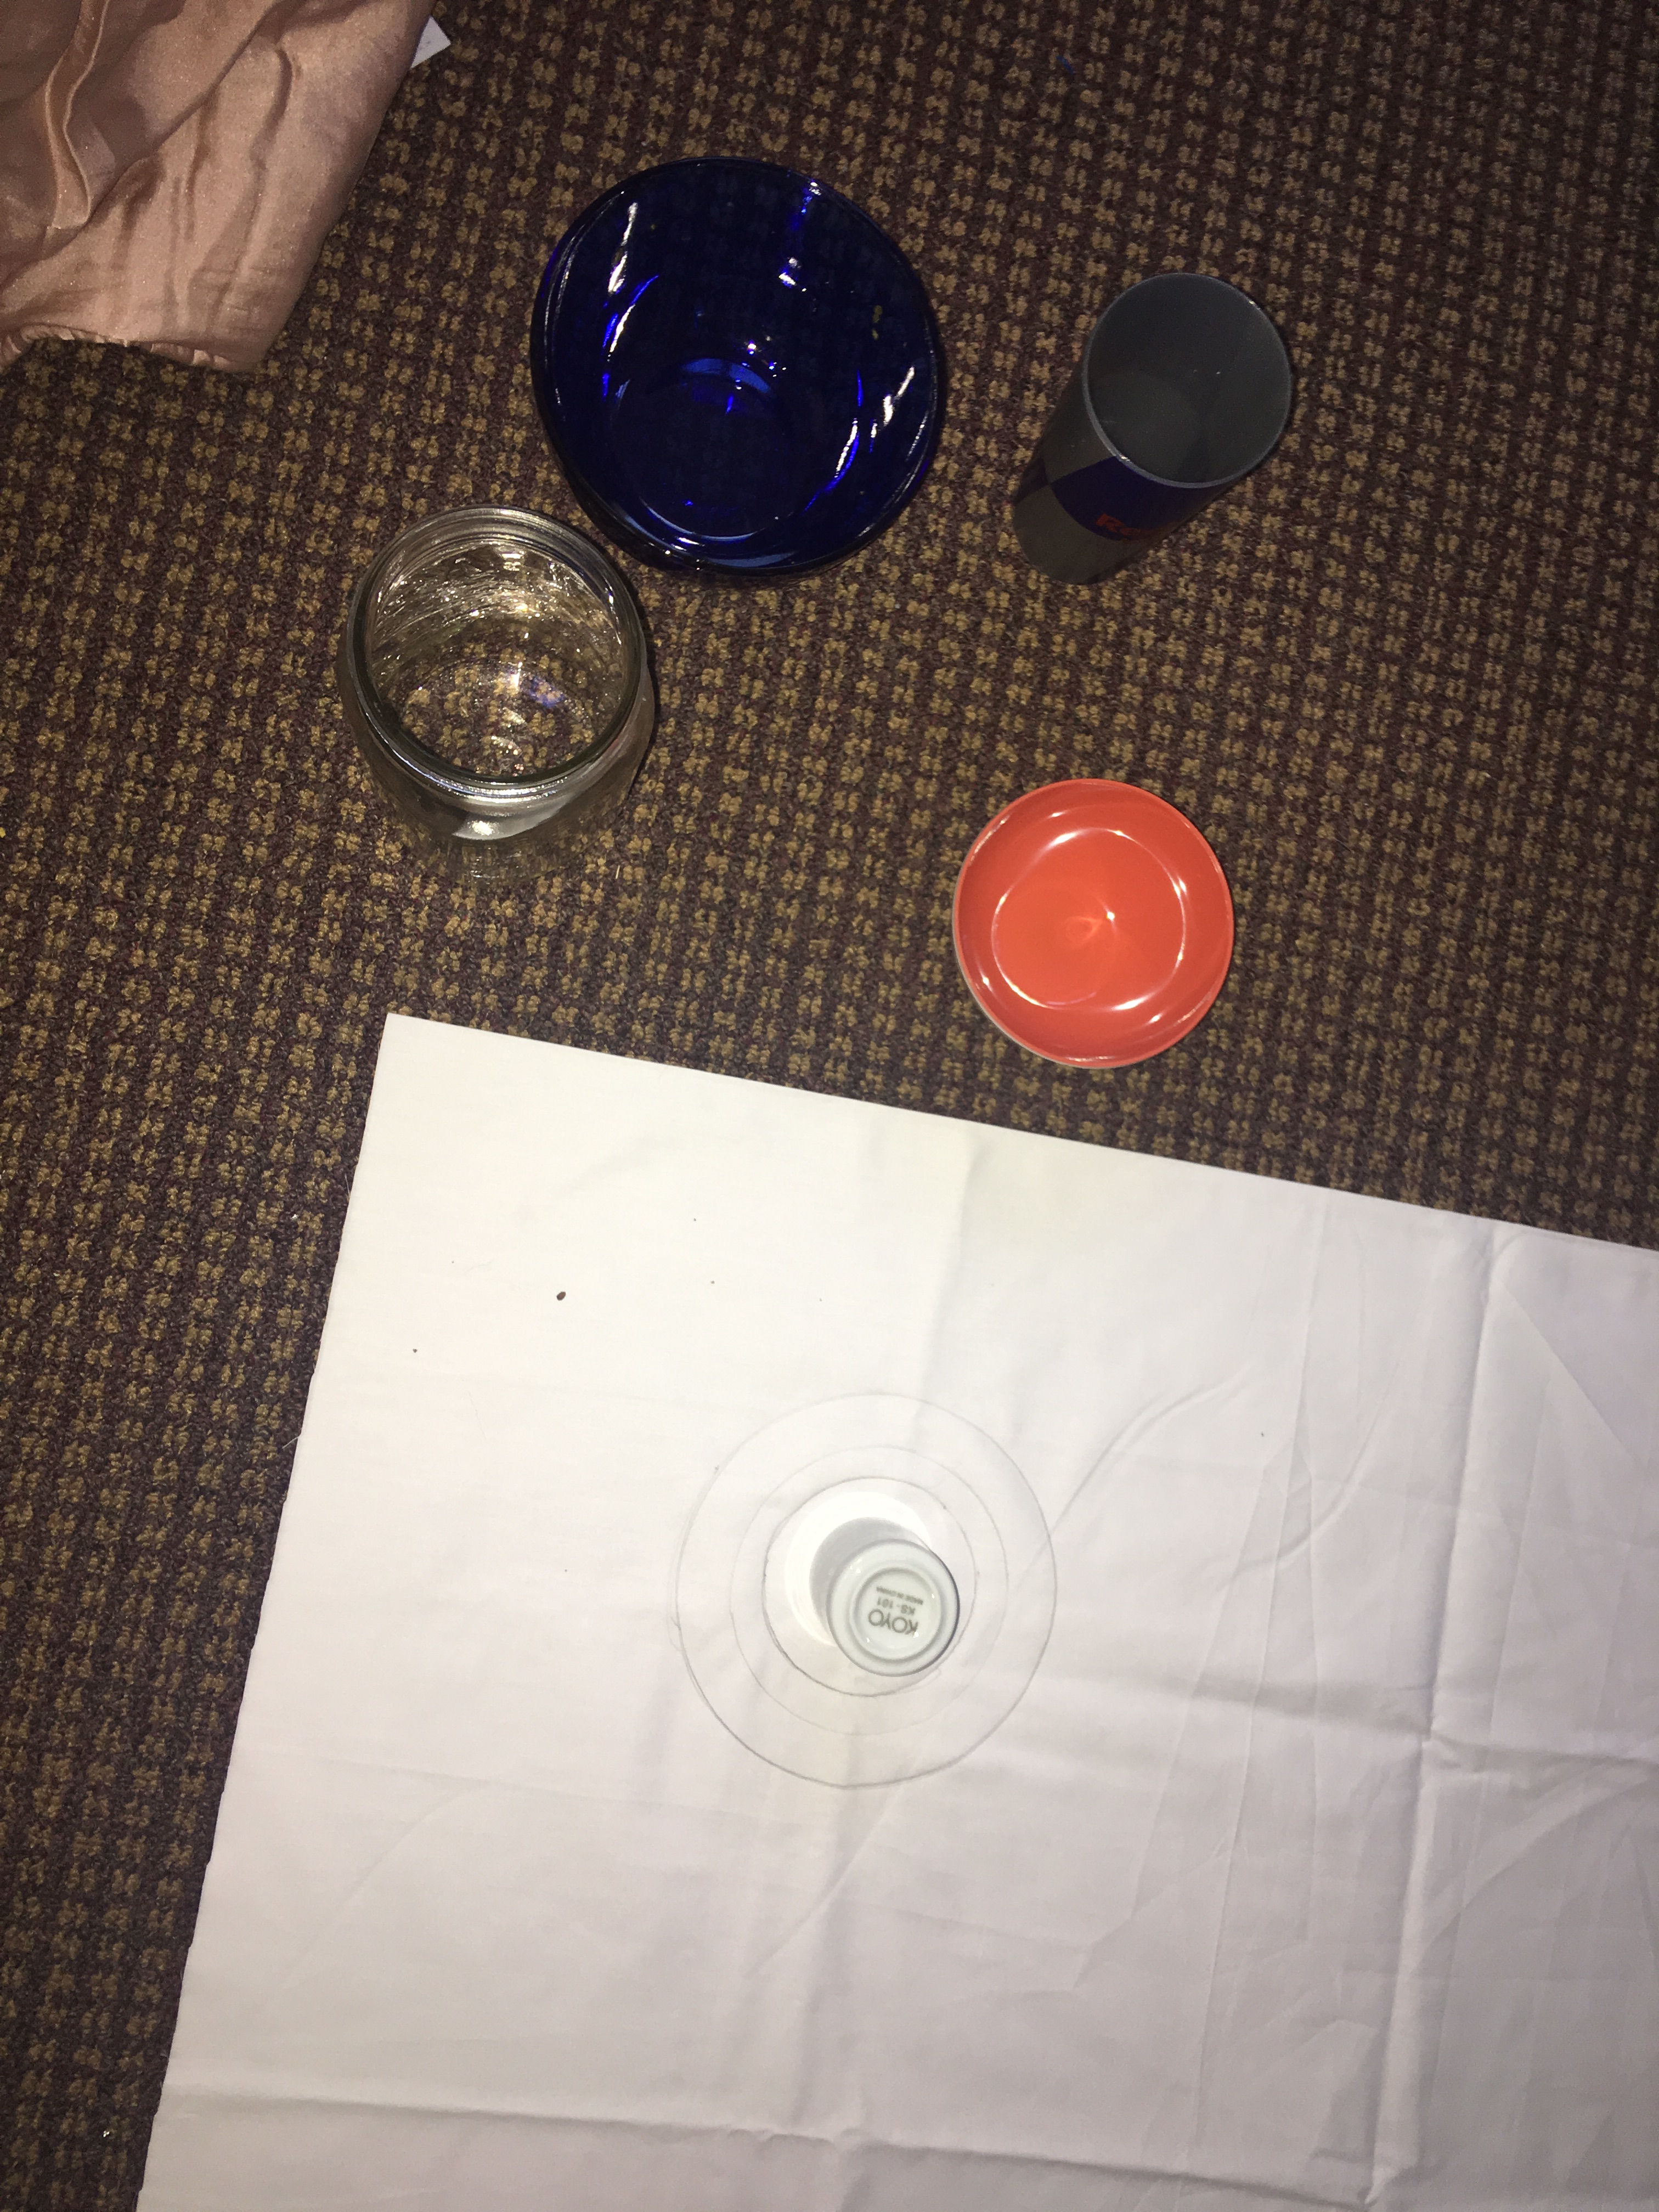
When the circles were all traced this is what the pattern looked like. 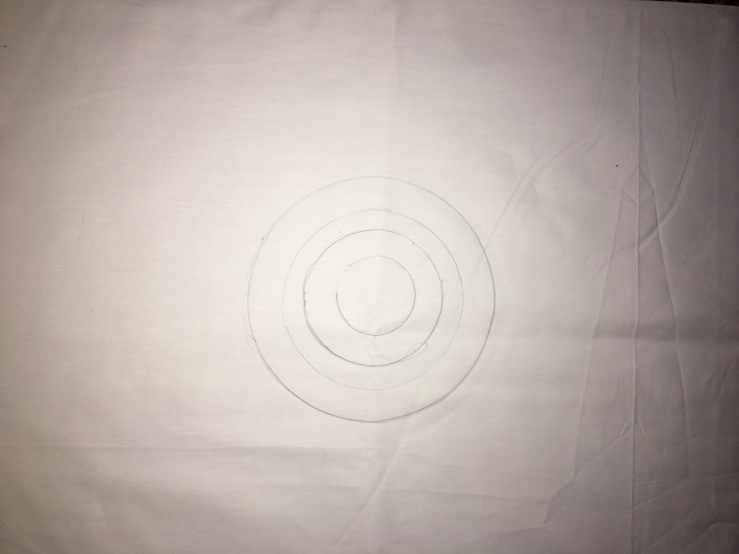
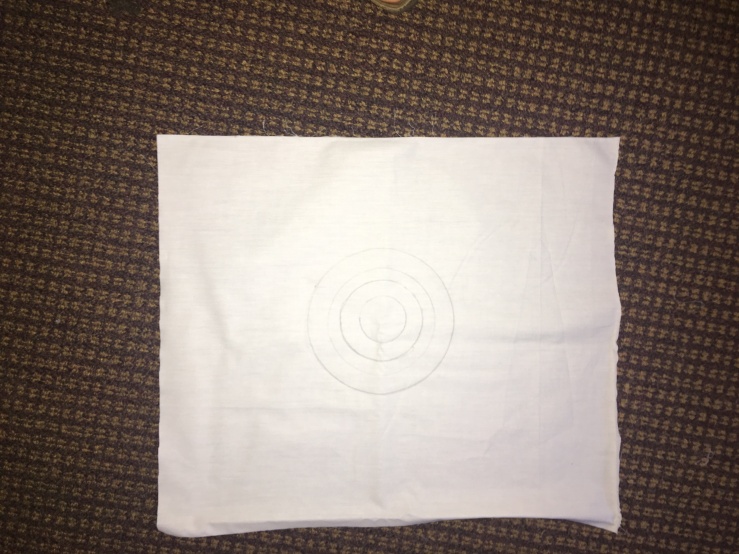
Then I cut the fabric in a square around the circles in order to leave enough room to make a pillow out of it. I cut two squares of the same size, for the front and the back of the pillow. Below is the fabric after it was cut.
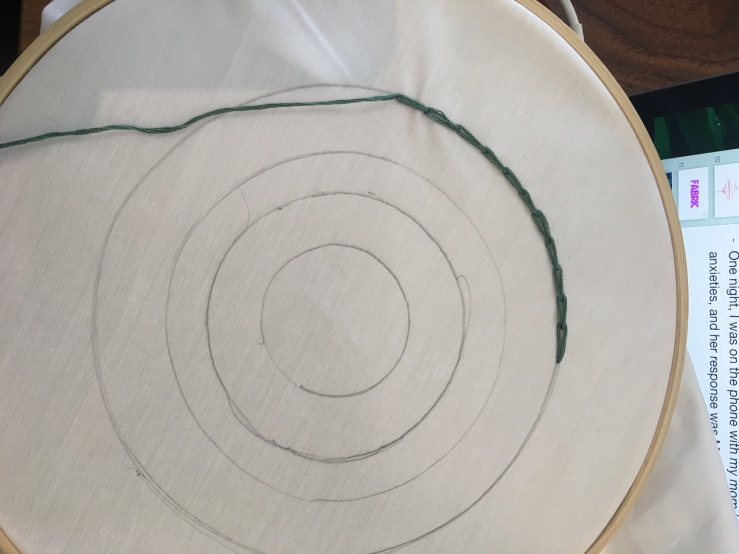
I then went on the website Danny suggested to learn stitching. Here’s the link to the website with different stitches. I started off stitching in the biggest circle by doing the chain stitch. This one was quite complicated to grasp at first, but once I got into a rhythm it started to become second nature. Below is a picture of the very beginning of my chain stitch.
Below is a picture of the chain stitch when it was complete. 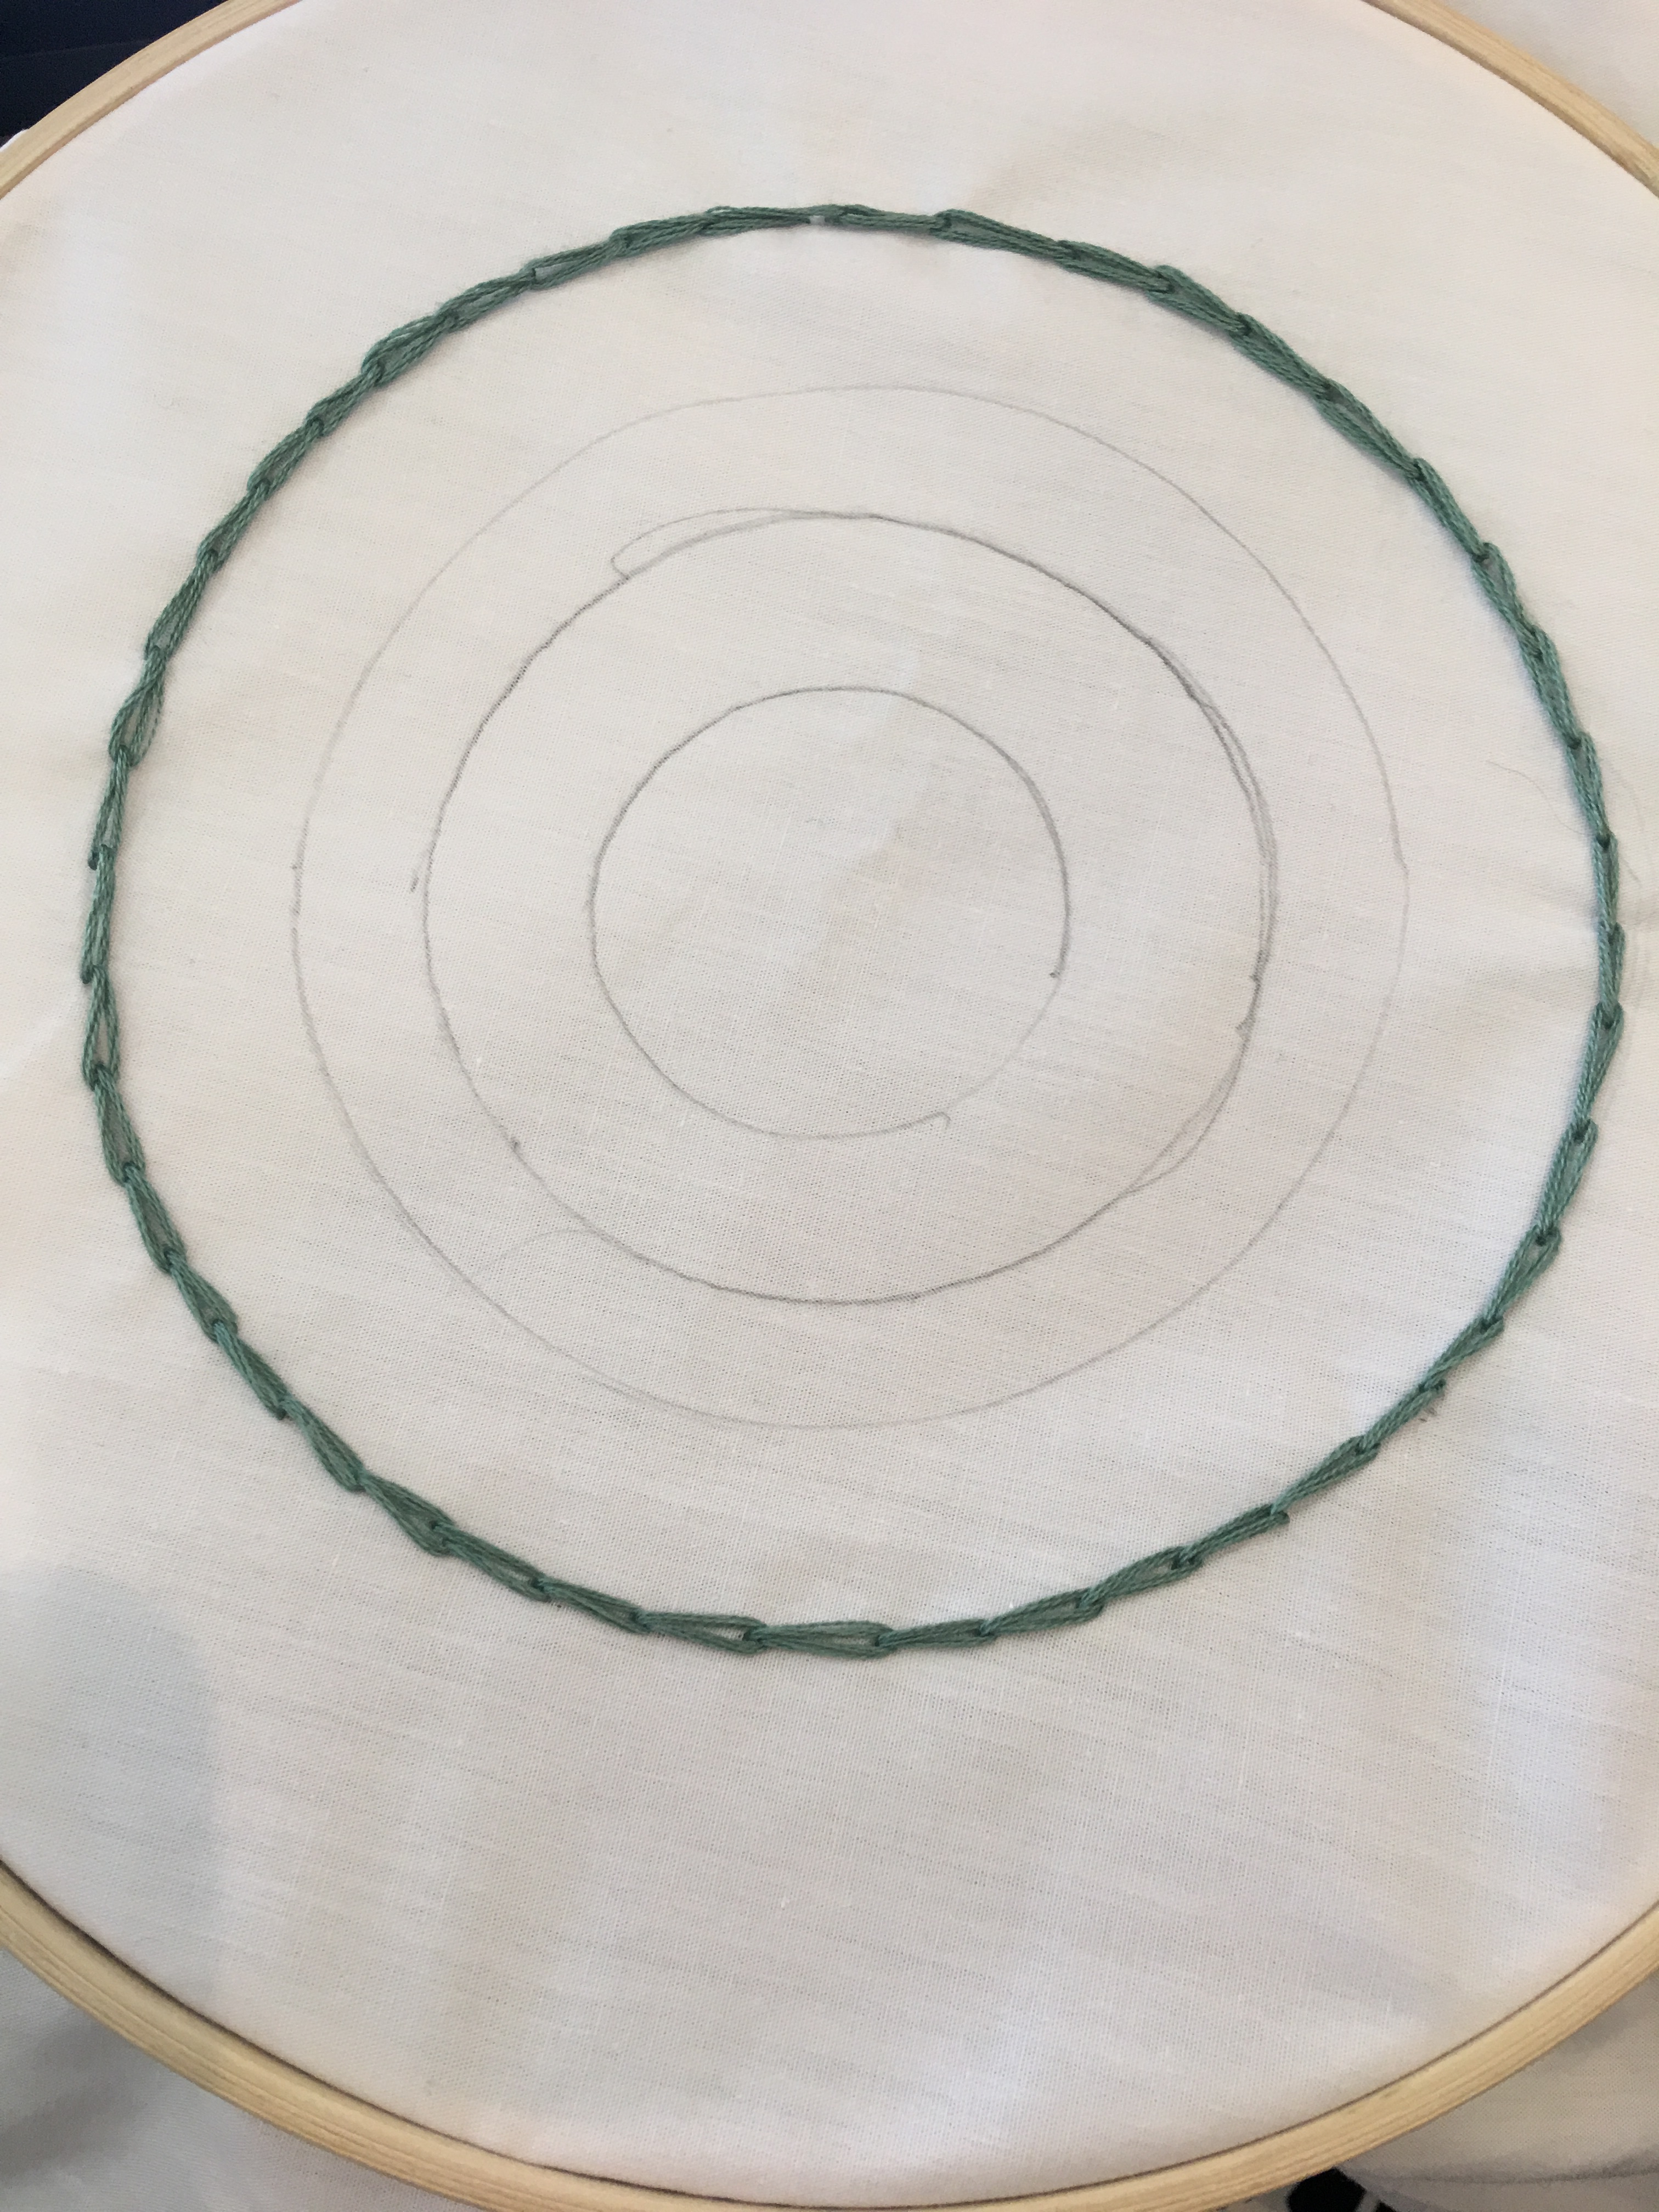
The next stitch I did was a variation of the feather stitch. The reason I couldn’t do the complete feather stitch was because I needed to go in a circle. Therefore, I could only do a half of the stitch, but I am excited for how it turned out. One of the obstacles I ran into is that I bought four colors of thread and two of them were a metallic type thread that turned out to be way harder to manipulate than regular embroidery thread. This was another reason why the full feather stitch wasn’t a success.
In the third circle, I did the satin stitch. This one was complicated also because I had to do it in a circle instead of a straight line. I had to do this one strategically in order to get the circle completely full of strokes of the thread. Below is a picture of the second and third circles complete.
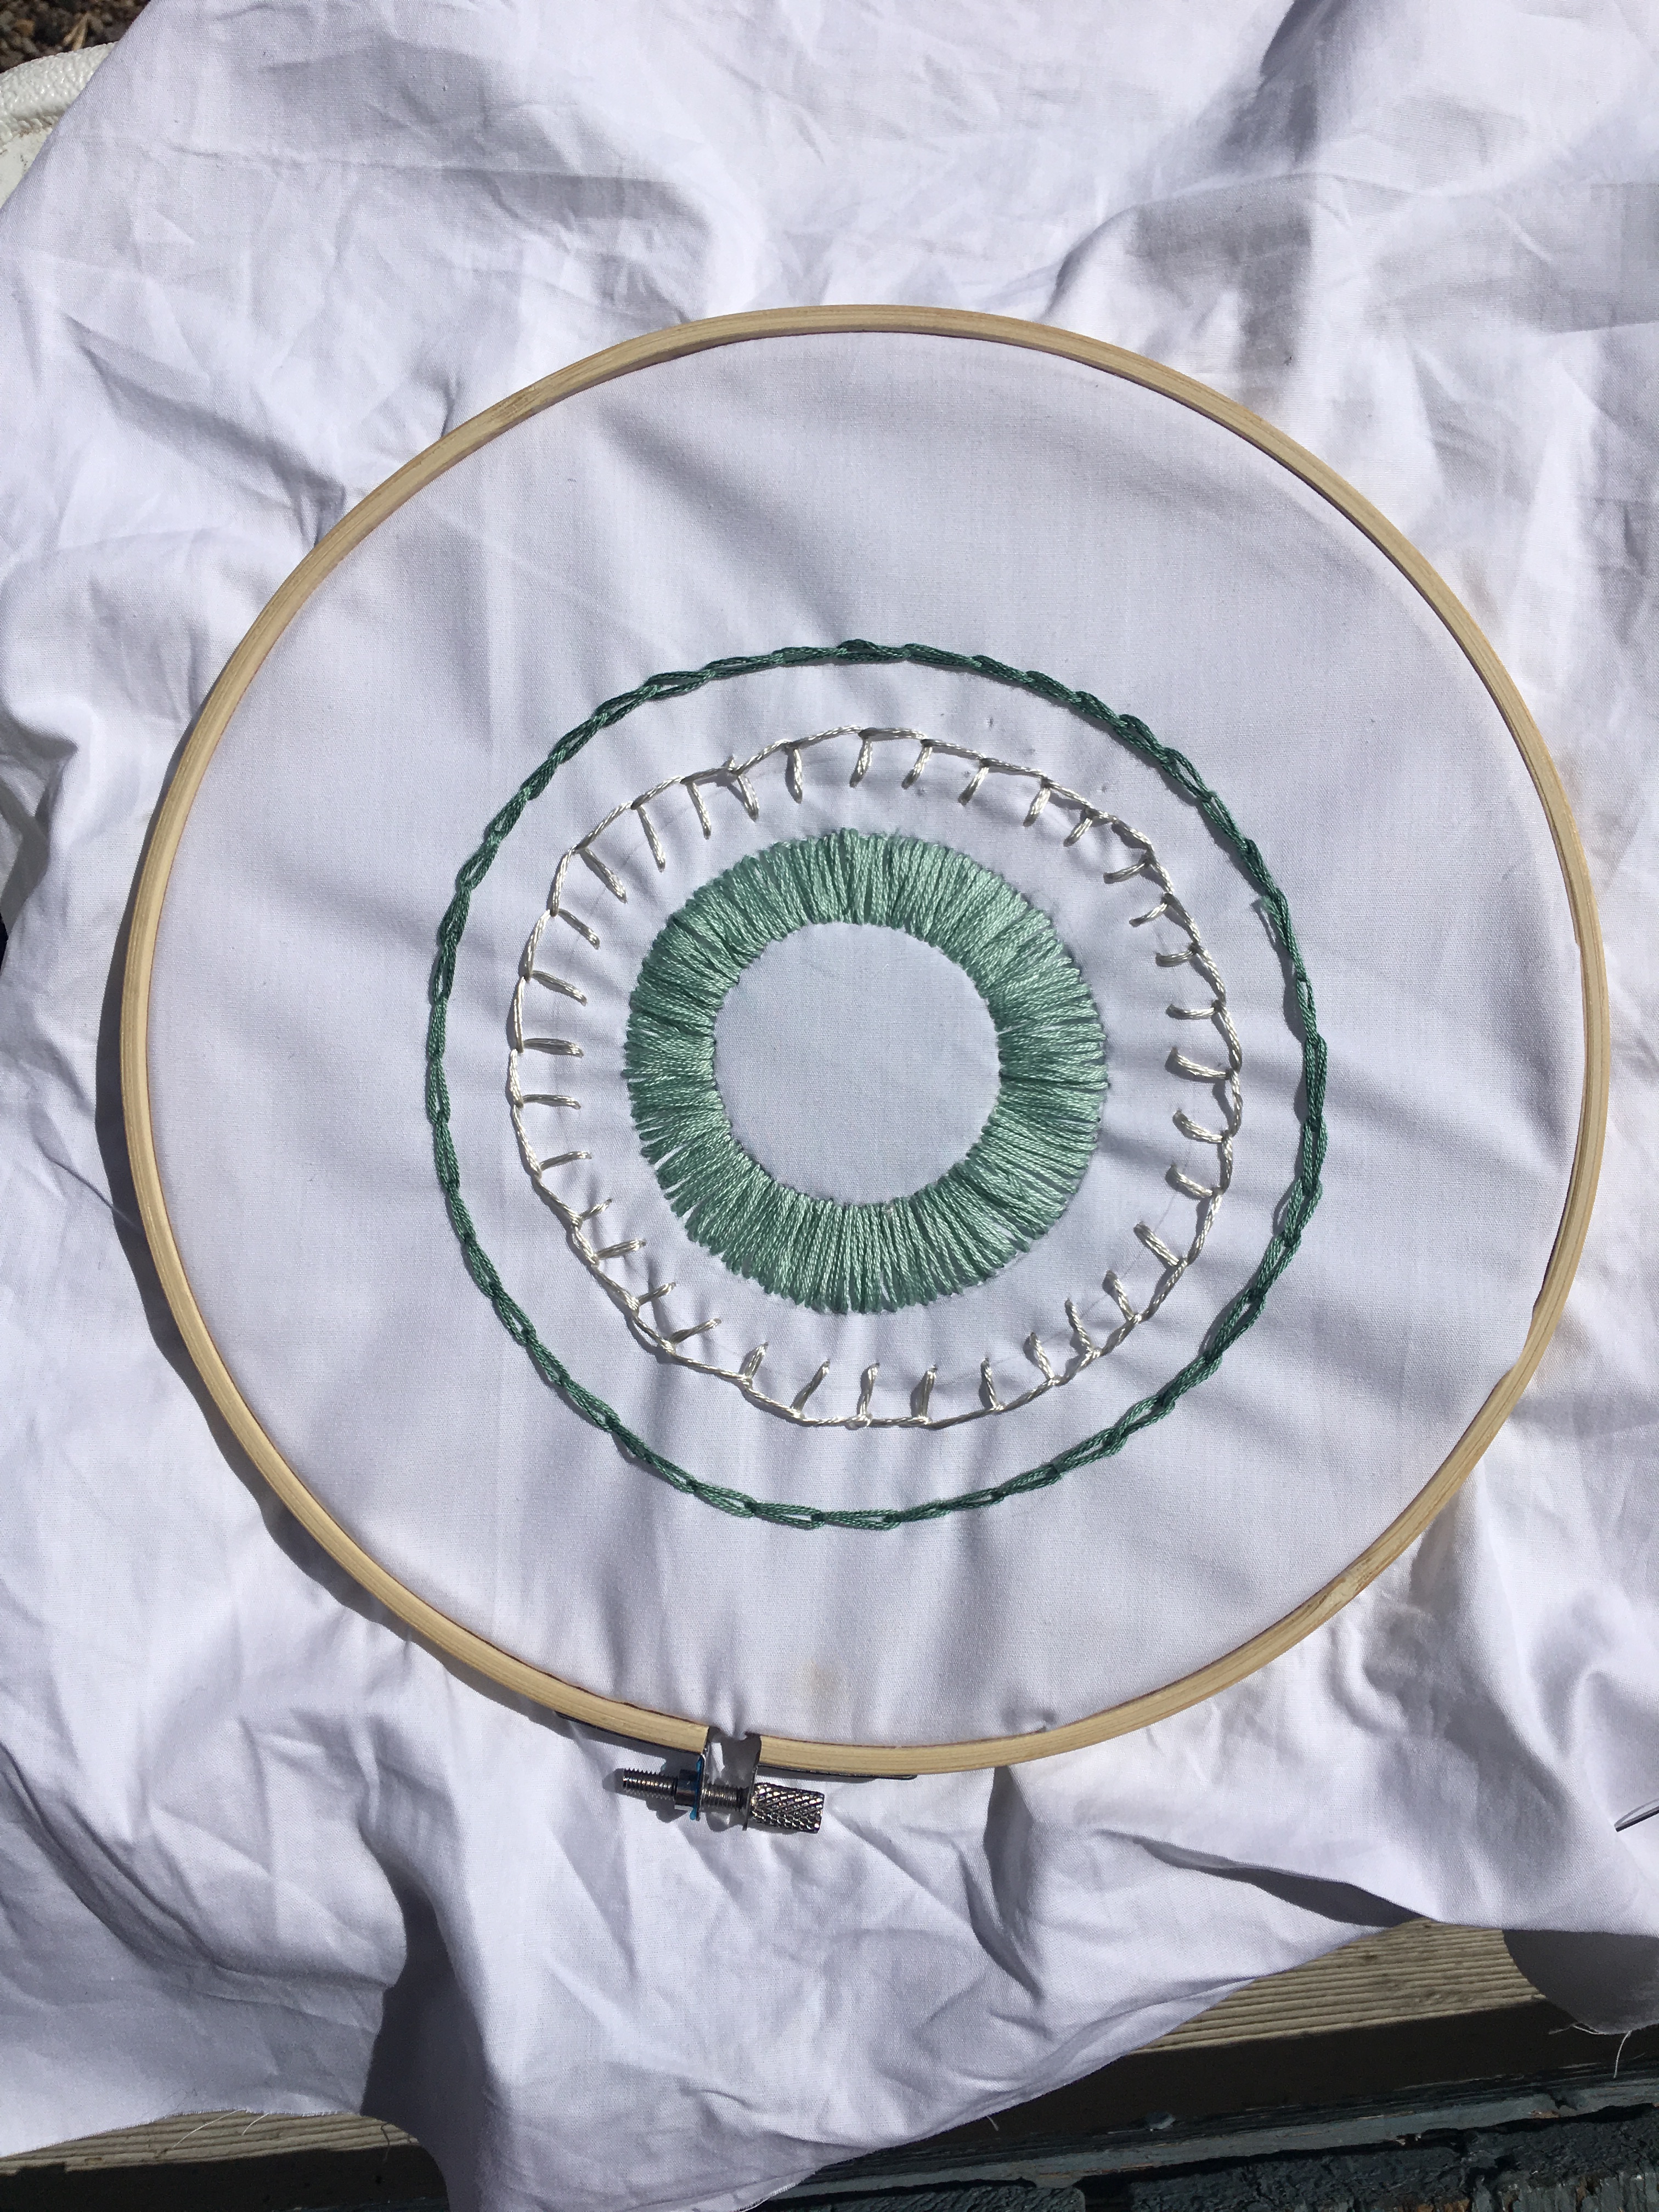
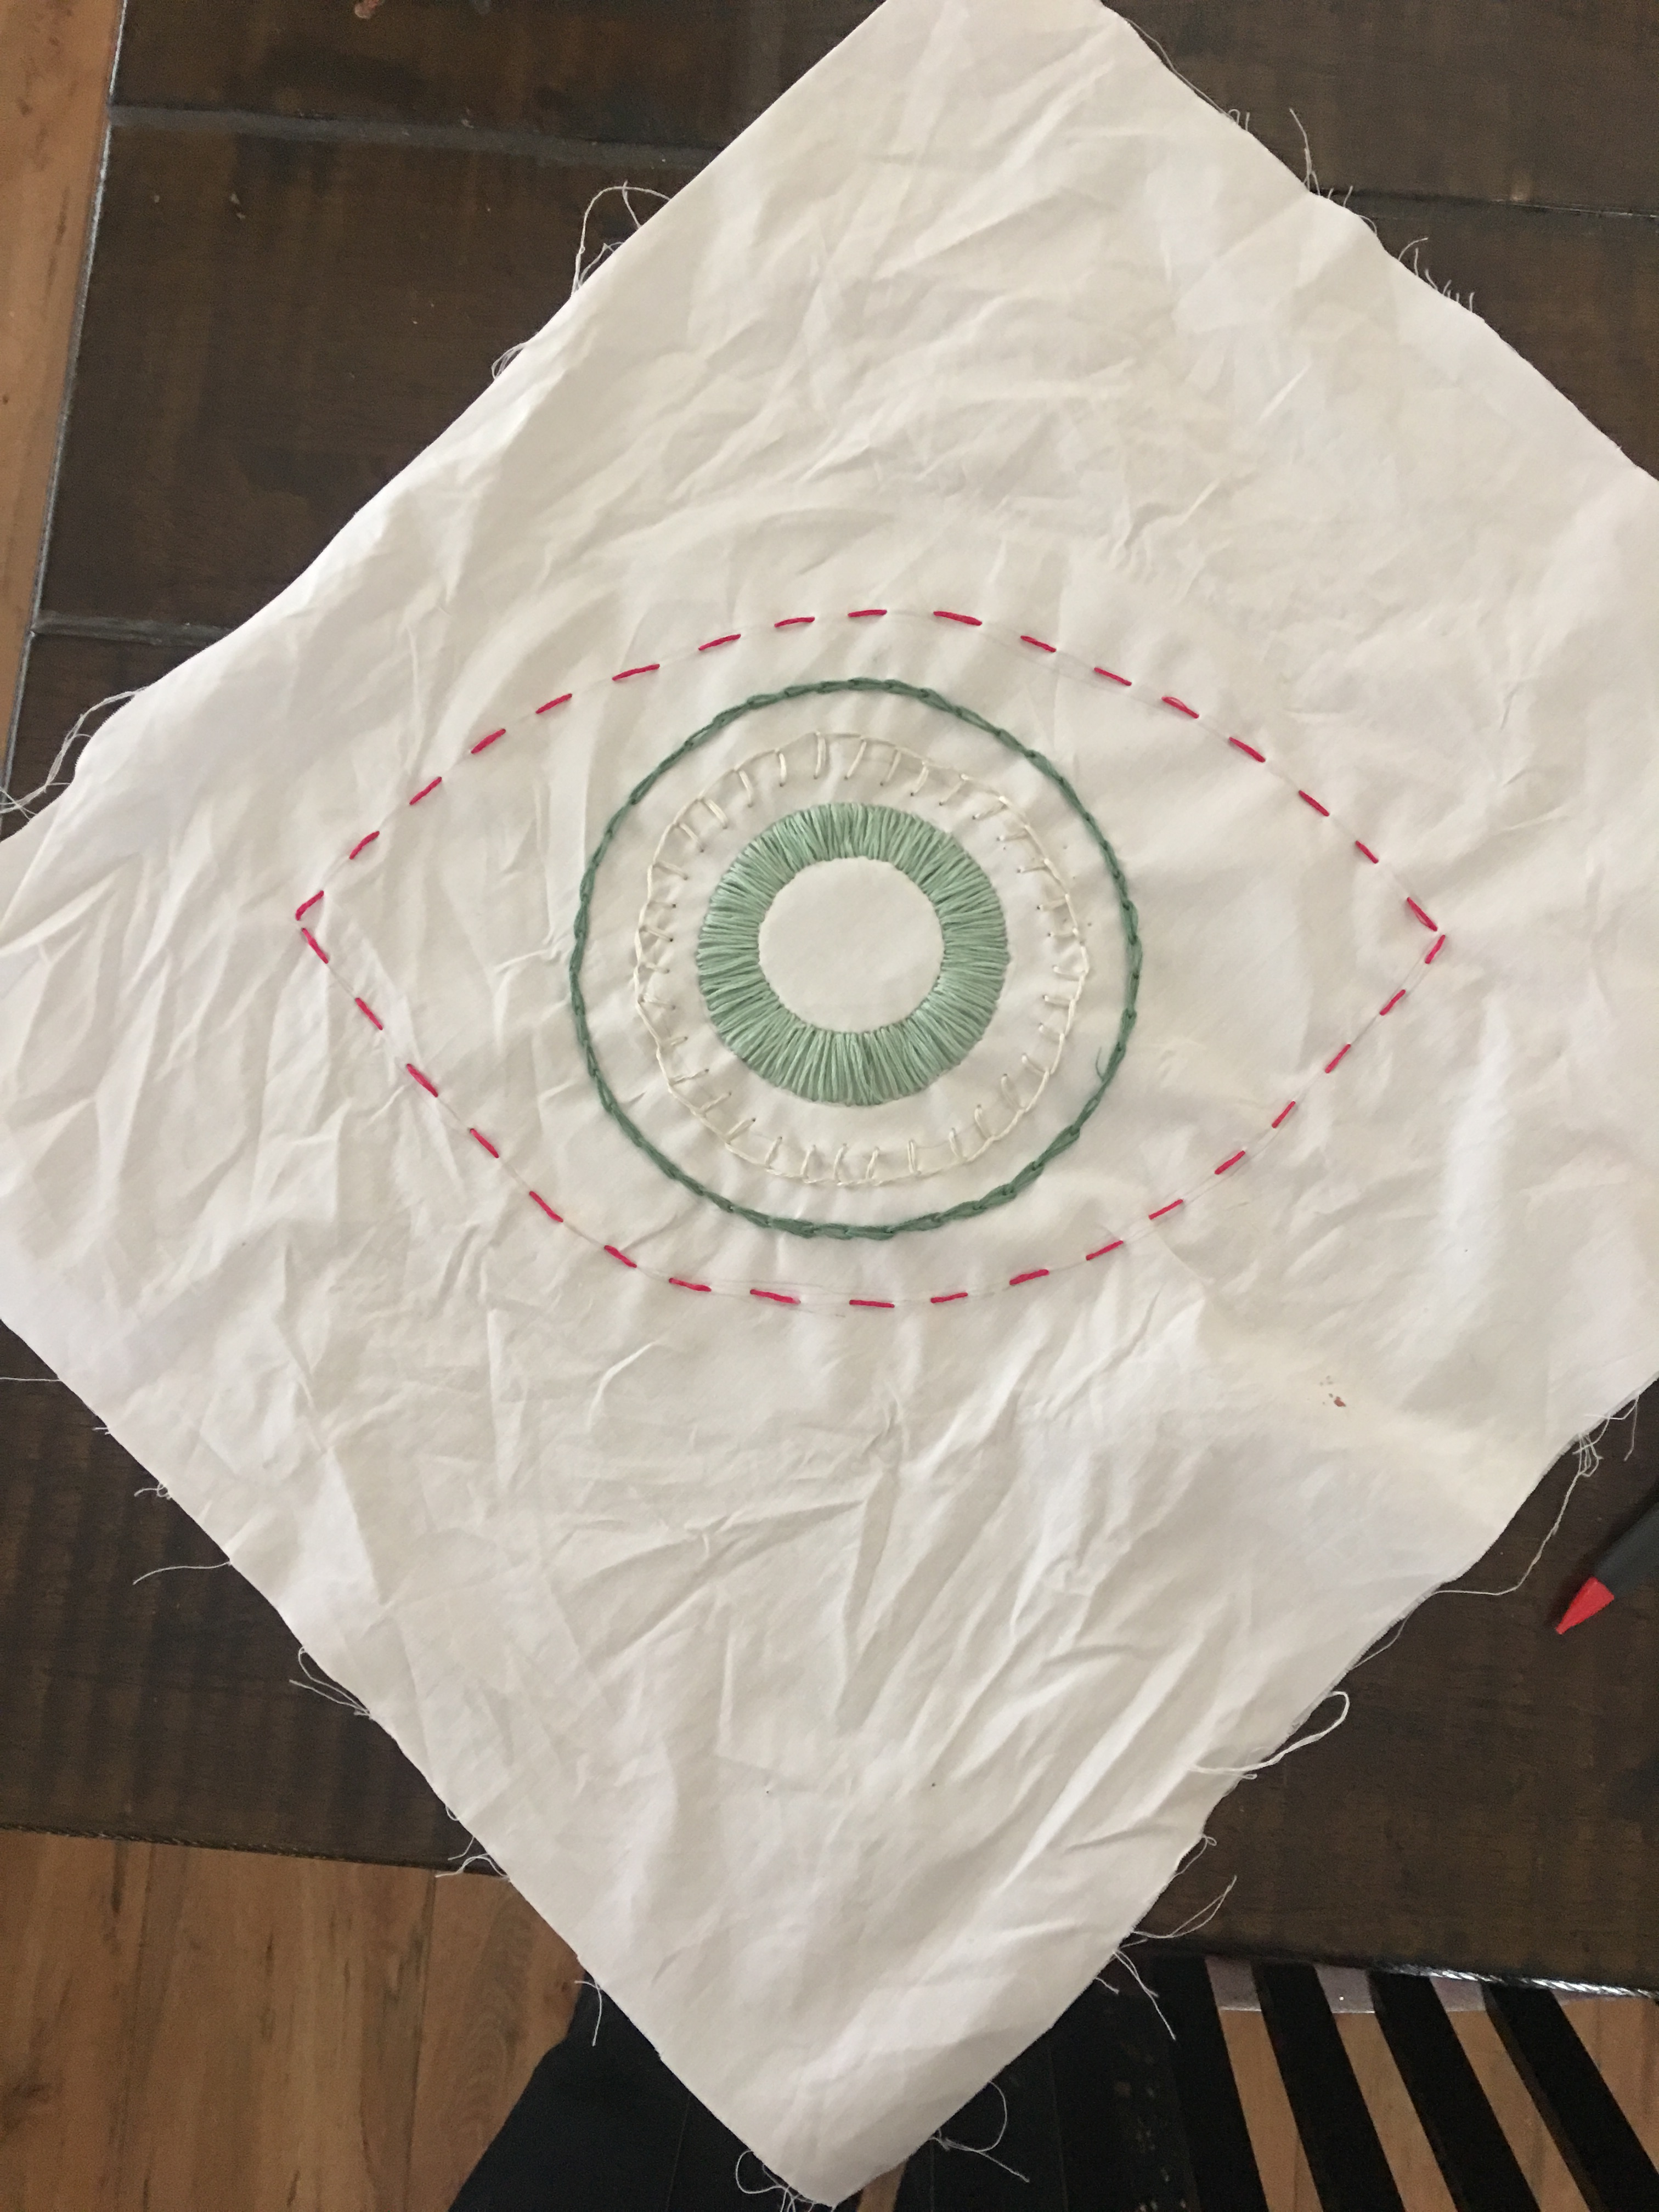
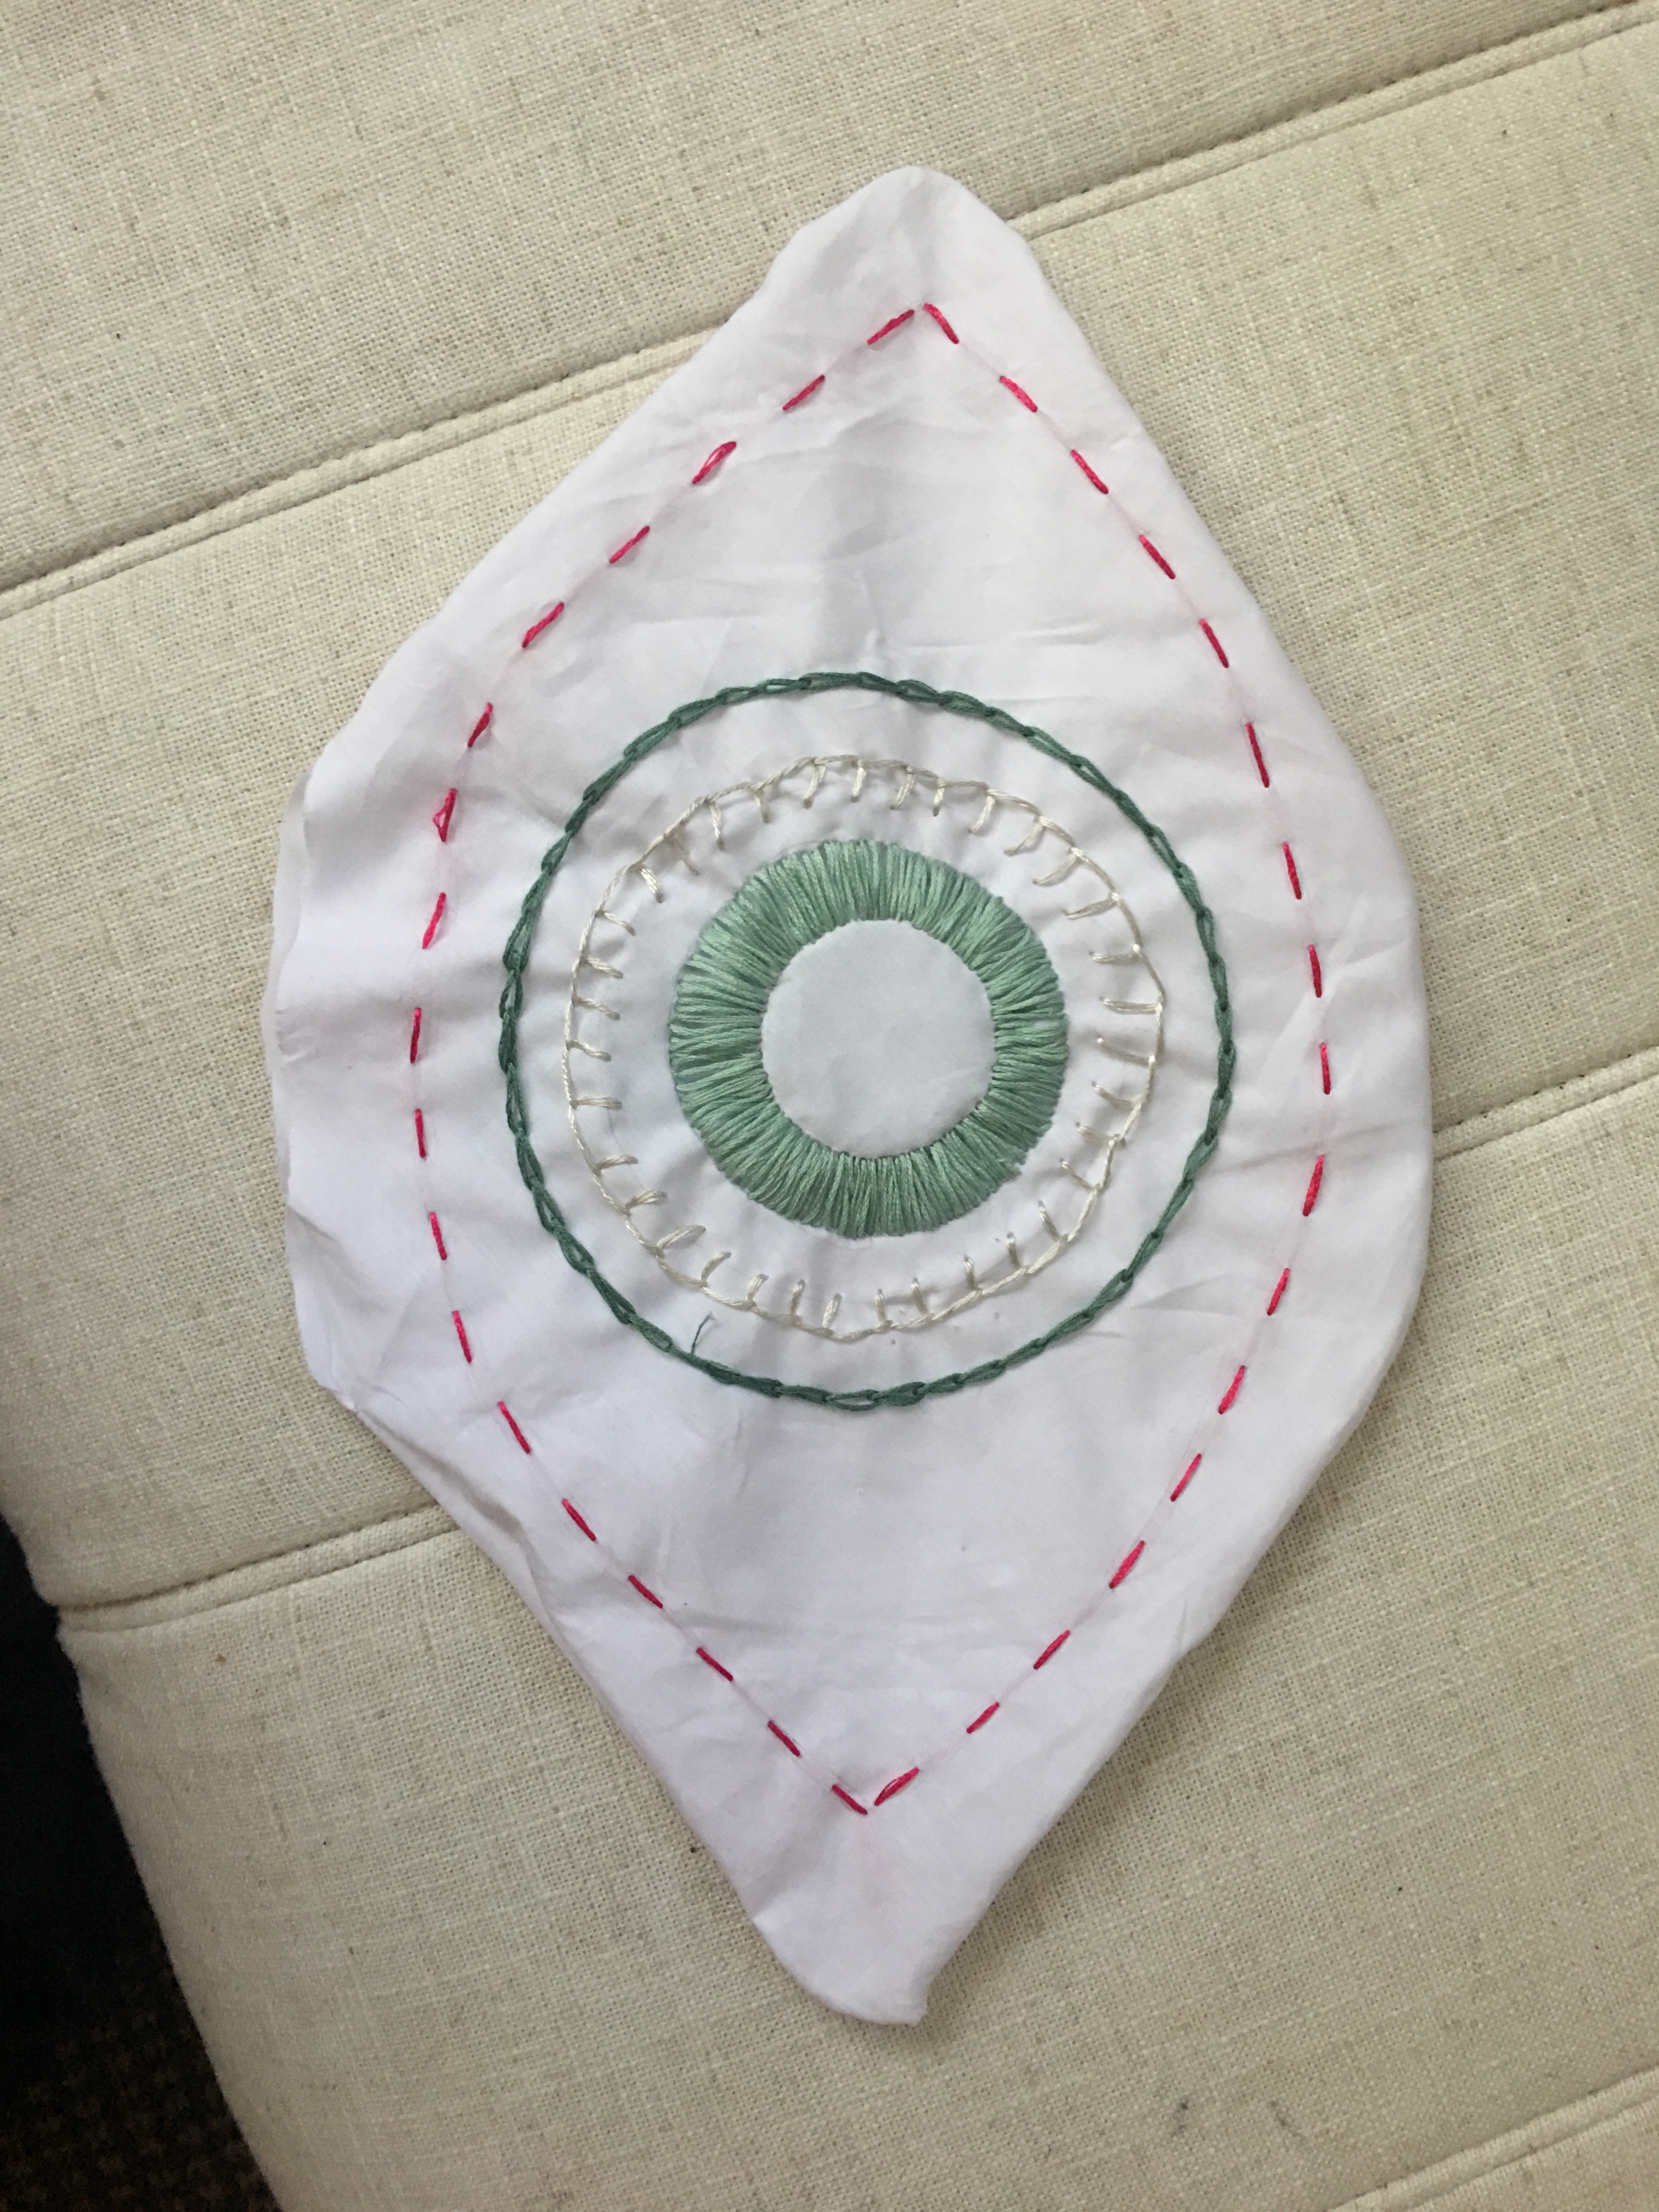
At this point, I liked what I had done, but I was still planning on doing something in the middle of the smallest circle. However, the only thread that I had left was a pink version of the silver metallic that had already given me so many problems. I realized that doing something intricate in the center of the circle with that metallic thread was not a good idea. As soon as this revolution took place, one of my friends walked up to me and asked me if I was making an eye ball. Then I realized that I could use the pink thread to physically create the football shape of an eye ball, and it would look so cool. So I took that advice and pursued it. Below is a picture of the complete eye.
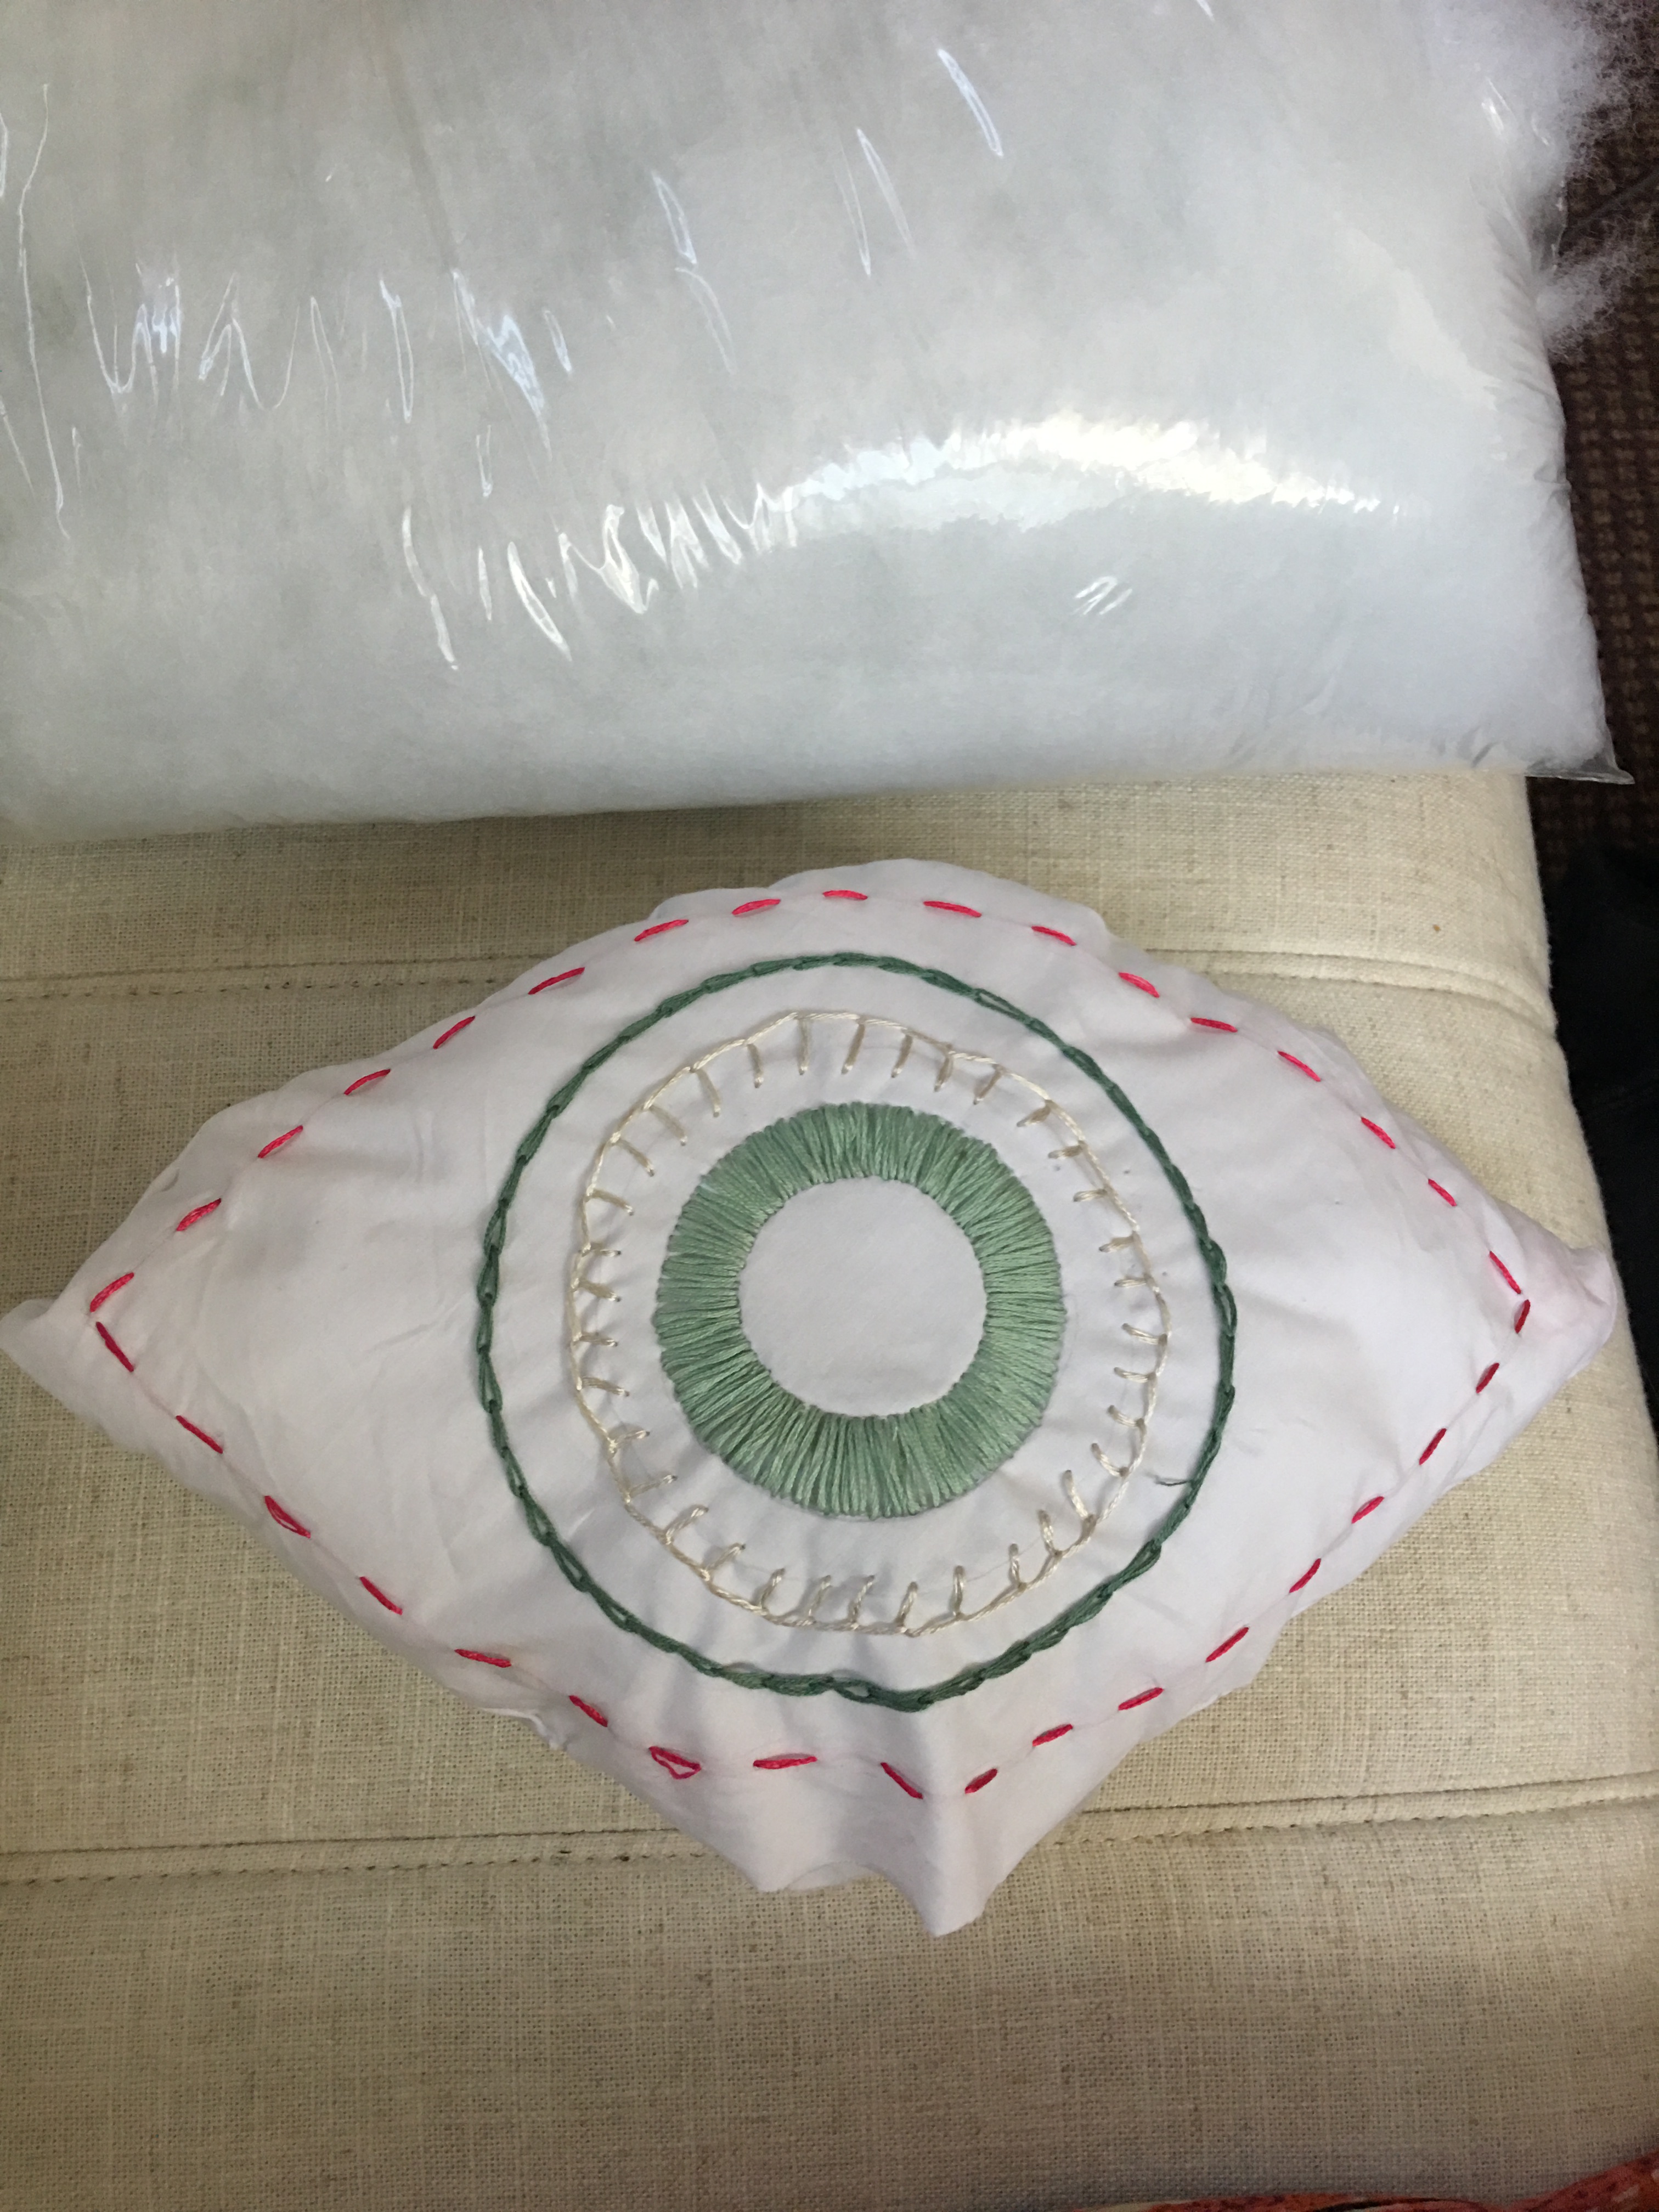
I could have kept the fabric in a square which in reality I wish that I did, but instead I ended up cutting it in the shape of the eye ball itself. This is a picture after I cut both the front and back pieces of the pillow.

I sewed the two sides together inside out leaving a whole in the bottom of the eye in order to turn it inside out and fill it with stuffing. Below are before and after picture of turning it right-side out.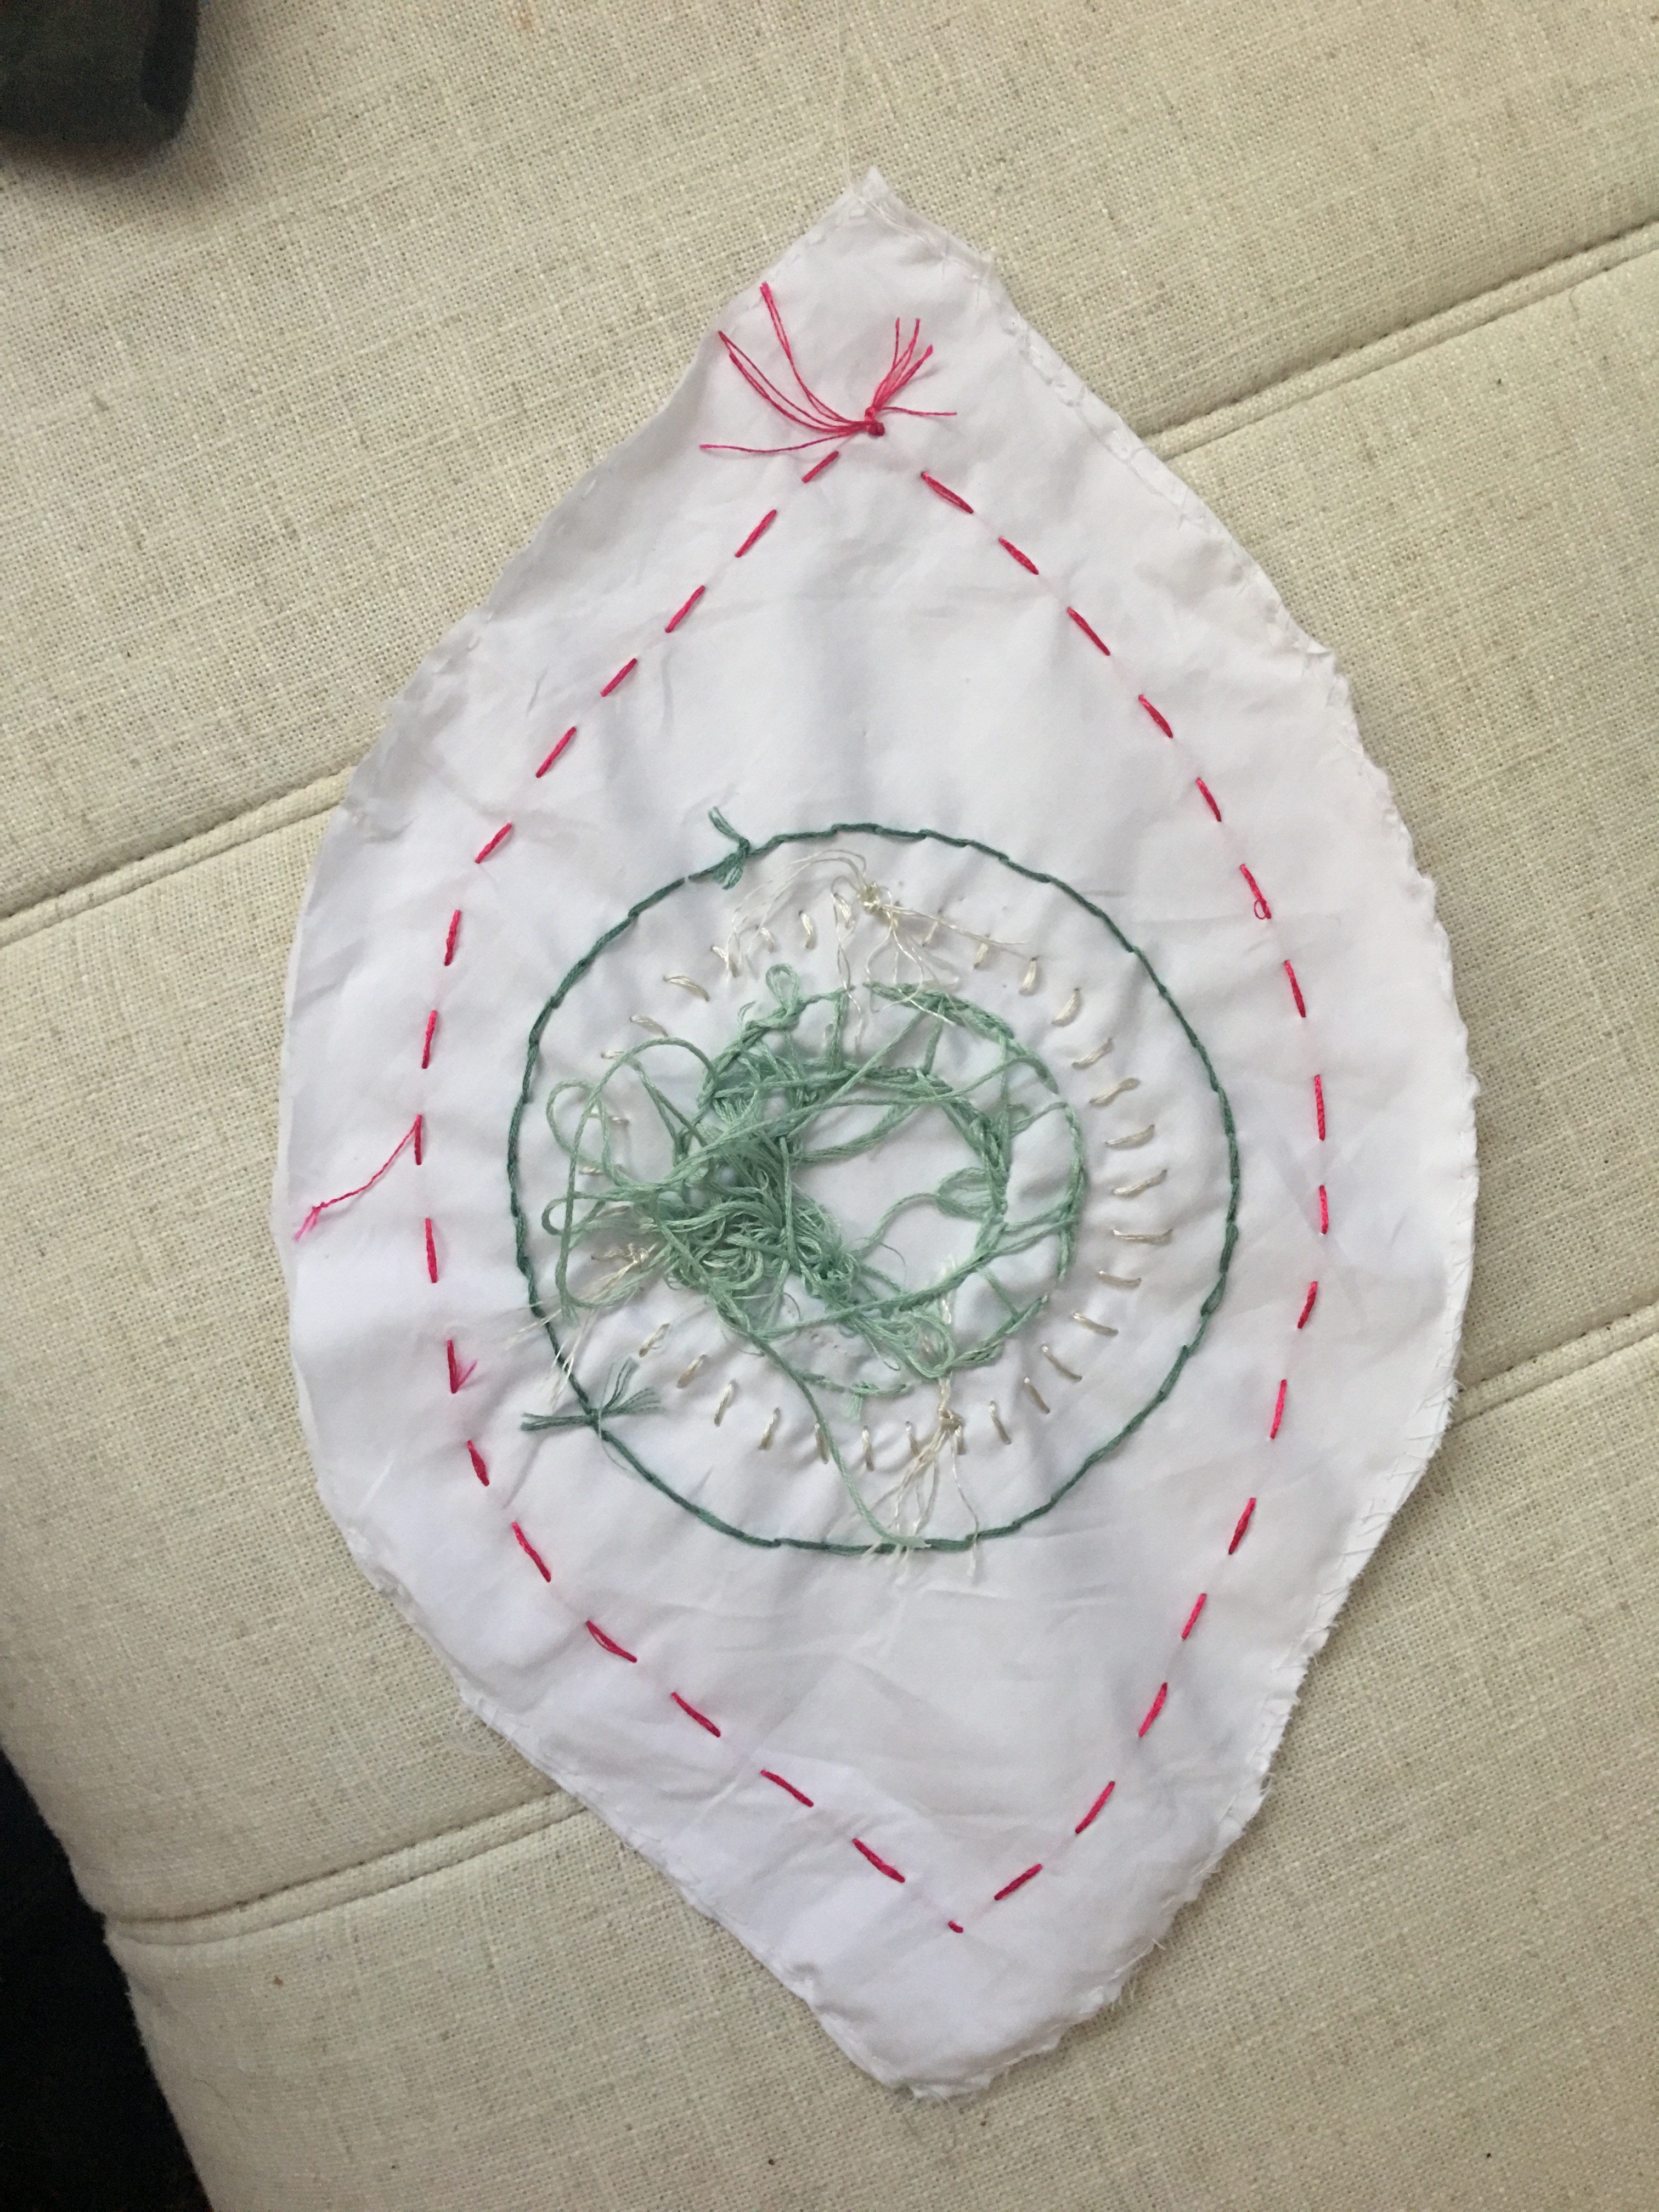
Then I was able to fill it with stuffing that I purchased from the fabric store. Below is a picture with the stuffing before I sewed the opening closed.
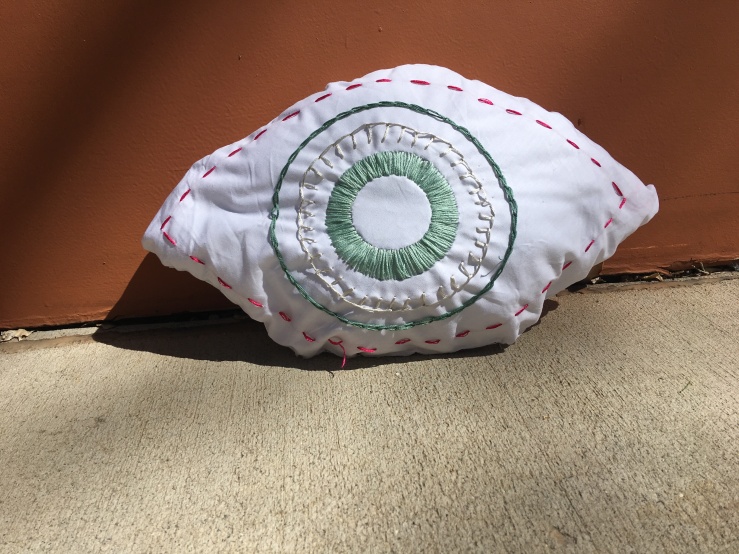
I was able to close the hole in the bottom and complete my pillow. Below is a final picture of the pillow.
This project honestly taught me a lot about fabric and how it can be manipulated. Likewise, I learned how difficult it is to learn different stitching and how different threads used different can present issues. Lastly, sewing designs in a circle is much harder than doing it in a straight line. The next step would be to buy some black fringe type fabric and attach it to the outsides of the pillow. I think it could look really cool and allow for a play on of eyelashes.


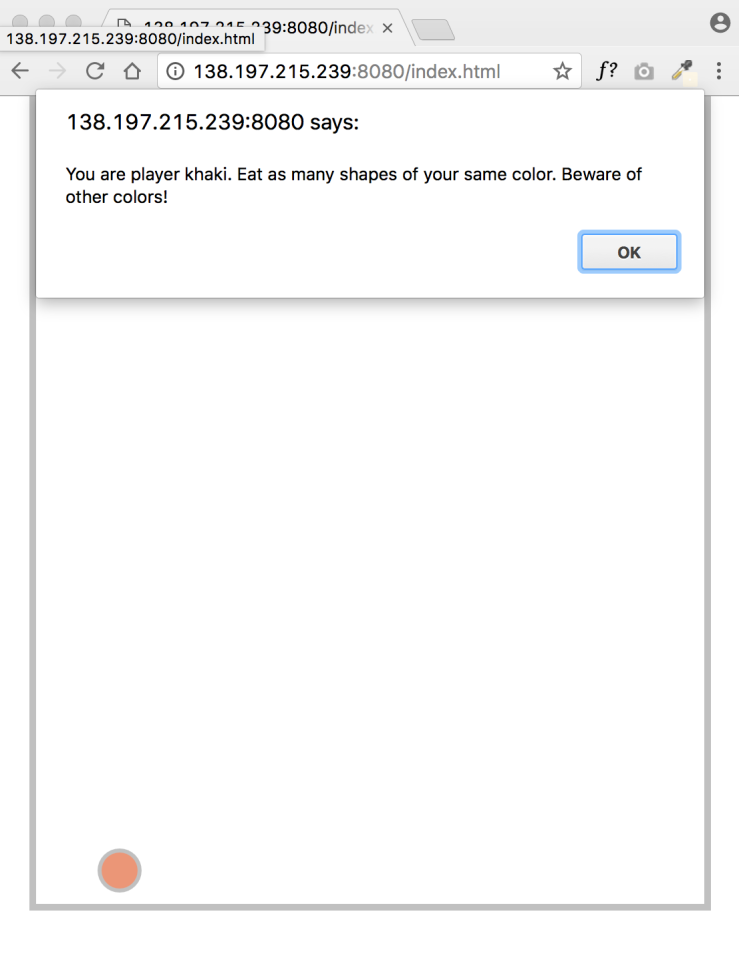 Now, here is what the screen looks like as soon as the khaki player (player 4) clicks “ok” to begin the game.
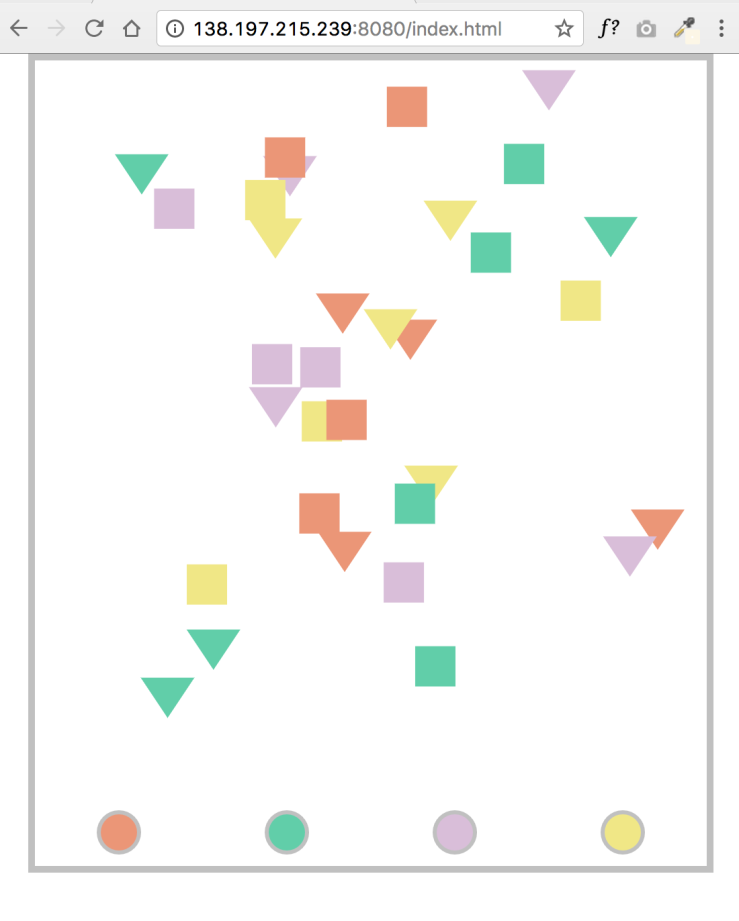 Then the game begins and players are able to start moving around attempting to eat their own colors while avoiding others! Below is a video of the game in action!